|
|
Post by stinky666 on Jan 13, 2006 9:16:15 GMT -5
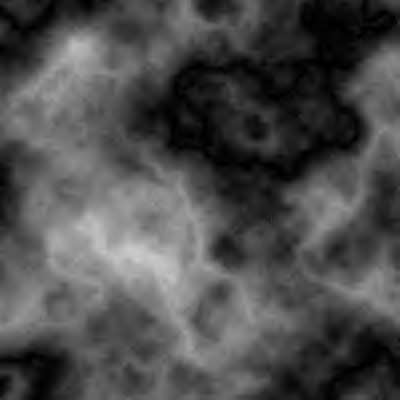
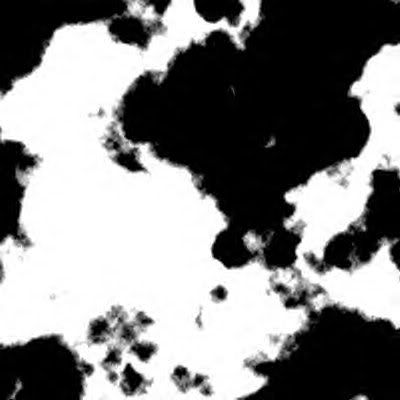
1. Create a new image 400x400 with a “transparent” background 2. Filter > Render > Clouds 3. Filter > Render > Difference Clouds. Press Ctrl-F three (3) times  4. Press Ctrl-L to bring the lighting and use something similar to the settings below   5. Filter > Blur > Gaussian Blur with a power of six (6) 6. Filter > Stylize > Find Edges  7. Press Ctrl-I to invert the image 8. Filter > Blur > Radial Blur with the following settings Amount: 100 Blur Method: Zoom Quality: Good  Press Ctrl-F 9. Press Ctrl-L to bring the lighting and use something similar to the settings below   10. Filter > Sketch > Chrome with the following settings: Detail: 0 Smoothness: 10  11. Image > Adjustments > Hue/Saturation and use something similar to the settings below  12. Duplicate the layer and change the new layers blending mode to overlay  Final Image should look something like this:  |
|