|
|
Post by stinky666 on Jan 13, 2006 9:04:36 GMT -5
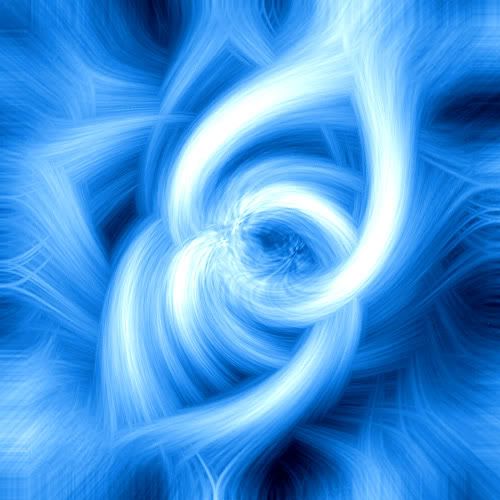
1.) Make a New Document - 500x500 (pixels) 2.) Filter - Render - Clouds 3.) Filter - Noise - Add Noise Amount: 25% Distribution: Uniform Remember to check off Monochromatic. (Should look black and white) 4.) Filter - Blur - Radial Blur Amount: 100% Blur Method: Zoom Quality: Best 5.) Filter - Stylize - Emboss Angle: 135 Height: 75 Amount: 100% 6.) Filter - Distort - Twirl Angle: 200 7.) Layer - Duplicate Layer - When a box pops up, just click ok. 8.) Filter - Distort - Twirl Angle: -400 9.) Set layer copy to lighten. 10.) Now you should have a pretty cool looking effect, but it needs some color. Press Ctrl and E at the same time to merge layers. 11.) Now to add the color, Press Ctrl and U at the same time. A box should pop up. Play around with that for a bit until you get something that you like. 12.) Now the last thing, to make some contrast between the colors... Go to Image, then adjustments, and click on Brightness/Contrast. You should get another new box to pop up, leave brightness how it is, but make contrast a +30. My final Image: |
|