Post by stinky666 on Jan 13, 2006 8:14:57 GMT -5
This Tutorial was provided by 'ZorlenTrivar'
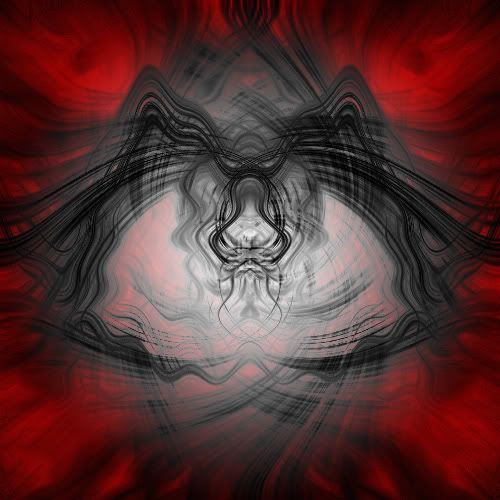
Just so your warned, this is going to be a long tutorial, but there's lots of pictures for you to compare.
Step one: Make a new image of anysize, just make sure that it's square. 300 by 300 is the size of the pictures for the actual tutorial, but the intro image was 500 by 500. Go to Filter: Render: Clouds
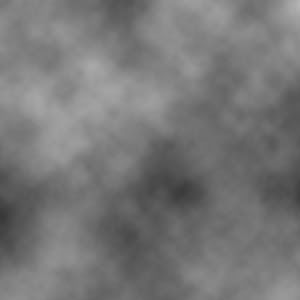
Step Two:Go to Filter: Pixilate: Mezzotint use one of the three "strokes", short medium or long. I used medium.
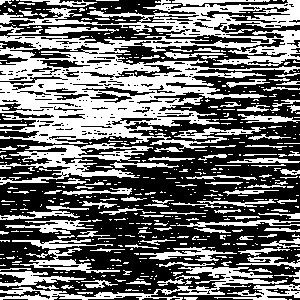
Step Three:Go to Filter: Blur: Radial Blur and have the amount set at 100, Zoom and Best.
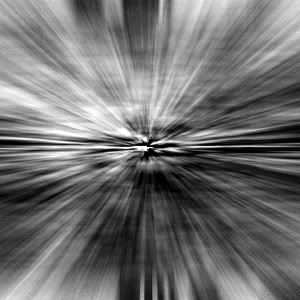
Step Four:duplicate that image, but leave it alone for now. Click the little eyeball icon in the ayers side bar so you don't see it while working on the opther layer. Go to Filter: Distort: Twirl and set it to 196%
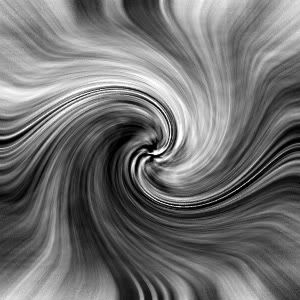
Step Five:Duplicate the layer you just twirled and then go to Edit: Transform: Flip Horizontal. Set the blending mode to darken. Hit ctrl+e to make the twirled layer and the copy of it combine into one layer.
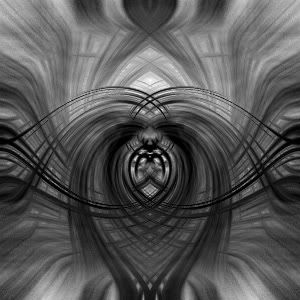
Step Six:Duplicate that combined layer and go to Edit: Transform: Rotate 90 degrees CCW and set that layer's blending style to soft light. You may want to co into the Hue/Colorize menu (ctrl+u) and lighten the image here.
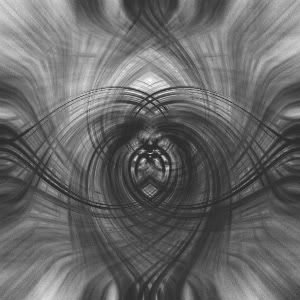
Step Seven:Now we will focus on that layer that we have been ignoring the past couple of steps. Start off by setting it's blending style to darken. Then, go to Filter: Distort: twirl and set it to 196 again. DO NOT MERGE YET.
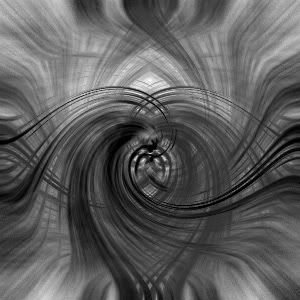
Step Eight:Go into Filter: Distort: Wave and use the default settings. Hit randomize a few times untill you get an effect that looks good to you.
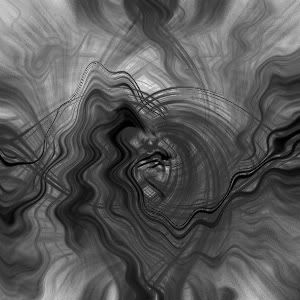
Step Nine:Duplicate the waved layer and then go to Edit: Transform: Flip Horizontal. If it's not already blending under the Darken settings, set it there. Now, flatten the image by merging all the layers.
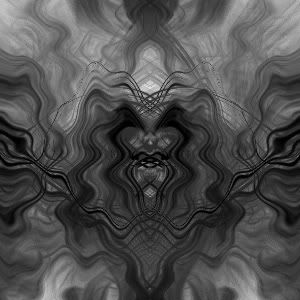
Step Ten: Duplicate that layer and go to Blending options and go to Gradient Overlay. click on the Gradient to set the colors you want and then set it at radial. Blend the image at the Darken or Multiply settings and then merge the image down again.
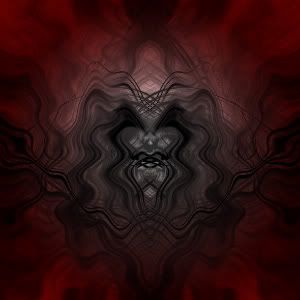
While for this example I didn't get a result as cool as the big one. Remember that the bigger you start as, the cooler it will look. This will make a great Wallpaper for your desktop.
You may be woindering why the tutorial is called 'Killer Duck'
And the answer to that, is because If you look closely at this image, you should notice that in the center, it almost looks like a duck flying towards you, and the general theme of the image is dark, evil.

Just so your warned, this is going to be a long tutorial, but there's lots of pictures for you to compare.
Step one: Make a new image of anysize, just make sure that it's square. 300 by 300 is the size of the pictures for the actual tutorial, but the intro image was 500 by 500. Go to Filter: Render: Clouds

Step Two:Go to Filter: Pixilate: Mezzotint use one of the three "strokes", short medium or long. I used medium.

Step Three:Go to Filter: Blur: Radial Blur and have the amount set at 100, Zoom and Best.

Step Four:duplicate that image, but leave it alone for now. Click the little eyeball icon in the ayers side bar so you don't see it while working on the opther layer. Go to Filter: Distort: Twirl and set it to 196%

Step Five:Duplicate the layer you just twirled and then go to Edit: Transform: Flip Horizontal. Set the blending mode to darken. Hit ctrl+e to make the twirled layer and the copy of it combine into one layer.

Step Six:Duplicate that combined layer and go to Edit: Transform: Rotate 90 degrees CCW and set that layer's blending style to soft light. You may want to co into the Hue/Colorize menu (ctrl+u) and lighten the image here.

Step Seven:Now we will focus on that layer that we have been ignoring the past couple of steps. Start off by setting it's blending style to darken. Then, go to Filter: Distort: twirl and set it to 196 again. DO NOT MERGE YET.

Step Eight:Go into Filter: Distort: Wave and use the default settings. Hit randomize a few times untill you get an effect that looks good to you.

Step Nine:Duplicate the waved layer and then go to Edit: Transform: Flip Horizontal. If it's not already blending under the Darken settings, set it there. Now, flatten the image by merging all the layers.

Step Ten: Duplicate that layer and go to Blending options and go to Gradient Overlay. click on the Gradient to set the colors you want and then set it at radial. Blend the image at the Darken or Multiply settings and then merge the image down again.

While for this example I didn't get a result as cool as the big one. Remember that the bigger you start as, the cooler it will look. This will make a great Wallpaper for your desktop.
You may be woindering why the tutorial is called 'Killer Duck'
And the answer to that, is because If you look closely at this image, you should notice that in the center, it almost looks like a duck flying towards you, and the general theme of the image is dark, evil.


