Post by stinky666 on Jan 13, 2006 9:19:55 GMT -5
Step 1: Start with a new 500x500px document. Fill it black.

Step 2: Now go up to Filter -> Render -> Lens Flare (Settings: Movie Prime, 100% Brightness). You should have something like this now.

Step 3: Now put a few more of those lens flares so it looks like below.
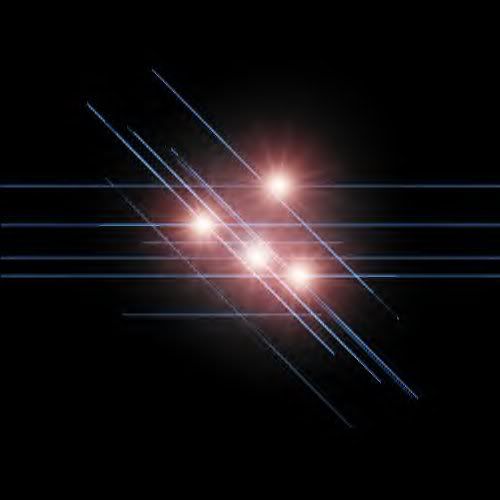
Step 4: Now go up to Filter -> Distort -> Wave, and use the settings like below.

Step 5: Now duplicate the layer, with the new layer selected, go up to Filter -> Sketch -> Chrome (Settings: Detail 0, Smoothnes 10). Put the layers blending mode on "Soft Light" and merge the layer down by going up to Layer -> Merge Down.
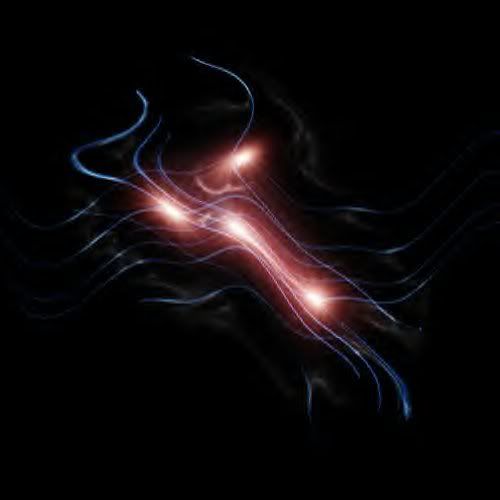
Step 6: Now duplicate the layer again, and go up to Edit -> Transform -> Flip Horizontal. Than go up to Filter -> Distort -> Wave, and use the settings below.

Step 7: Put the new layers blending mode onto "Screen" and merge the layer down again.
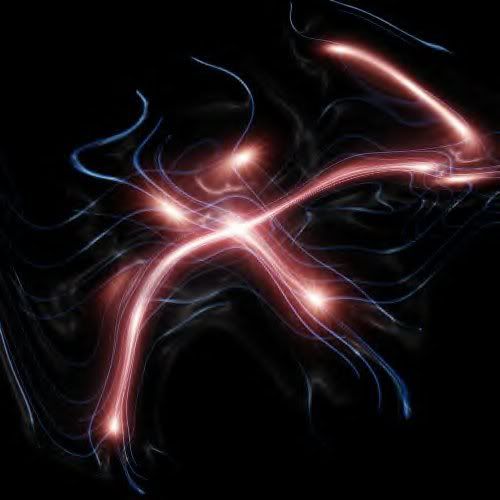
Step 8: Now duplicate the layer again and go up to Filter -> Blur -> Motion Blur, (Distance: 69px). And go up to Image -> Adjustments -> Hue/Saturation, and get Dark blue/purplish color. Put the blending mode on "Screen" and merge it down again.
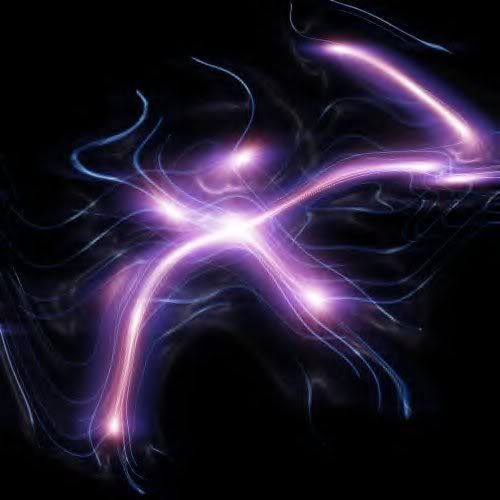
Step 9: Duplicate the layer again, and go up to Filter -> Blur -> Radial Blur (Settings: 60, Zoom, Good) and hit OK. Do that exact filter one more time and go back up to Image -> Adjustments -> Hue/Saturation, and get a dark pink color. Go back up to Filter -> Distort -> Wave, and use the settings below.

Step 10: Put the blending mode of that layer to "Screen" and merge down again.

Step 11: Now go select the brush tool, and go to your brush settings and choose the settings I have below.

Step 12: Now click the brush tab which is usually to the top right, which brings up more brush settings and use the settings like below. (All I am changing is the scattering options).

Step 13: Now make a new layer and use your brush all over the new layer. So you have something like below.
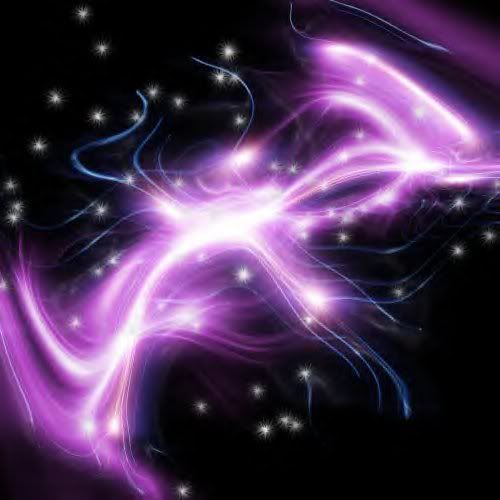
Step 14: Now set the new layer with all the stars on it to "Overlay" blending mode. Duplicate this layer so you have two star layers, and you should have something like this.
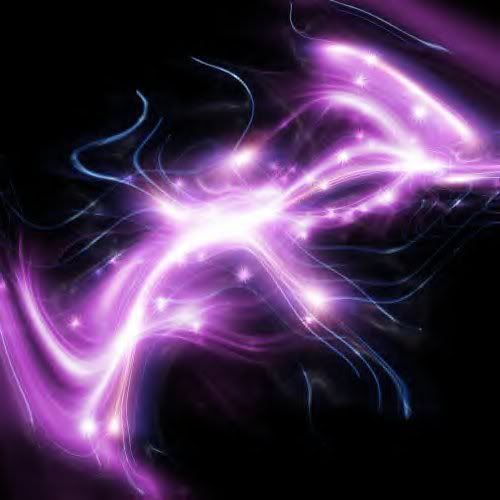
And your done.....
Now just add stuff to it if you want...

Step 2: Now go up to Filter -> Render -> Lens Flare (Settings: Movie Prime, 100% Brightness). You should have something like this now.

Step 3: Now put a few more of those lens flares so it looks like below.

Step 4: Now go up to Filter -> Distort -> Wave, and use the settings like below.

Step 5: Now duplicate the layer, with the new layer selected, go up to Filter -> Sketch -> Chrome (Settings: Detail 0, Smoothnes 10). Put the layers blending mode on "Soft Light" and merge the layer down by going up to Layer -> Merge Down.

Step 6: Now duplicate the layer again, and go up to Edit -> Transform -> Flip Horizontal. Than go up to Filter -> Distort -> Wave, and use the settings below.

Step 7: Put the new layers blending mode onto "Screen" and merge the layer down again.

Step 8: Now duplicate the layer again and go up to Filter -> Blur -> Motion Blur, (Distance: 69px). And go up to Image -> Adjustments -> Hue/Saturation, and get Dark blue/purplish color. Put the blending mode on "Screen" and merge it down again.

Step 9: Duplicate the layer again, and go up to Filter -> Blur -> Radial Blur (Settings: 60, Zoom, Good) and hit OK. Do that exact filter one more time and go back up to Image -> Adjustments -> Hue/Saturation, and get a dark pink color. Go back up to Filter -> Distort -> Wave, and use the settings below.

Step 10: Put the blending mode of that layer to "Screen" and merge down again.

Step 11: Now go select the brush tool, and go to your brush settings and choose the settings I have below.

Step 12: Now click the brush tab which is usually to the top right, which brings up more brush settings and use the settings like below. (All I am changing is the scattering options).

Step 13: Now make a new layer and use your brush all over the new layer. So you have something like below.

Step 14: Now set the new layer with all the stars on it to "Overlay" blending mode. Duplicate this layer so you have two star layers, and you should have something like this.

And your done.....
Now just add stuff to it if you want...


